


My drain will not open or close: replacing the drain cable and adjusting drain height
Updated September 2026
If your drain handle turns but the drain no longer opens or closes, the drain cable that connects the handle to the drain has most likely come loose or broken, and replacing the drain cable is the fix. The stainless steel cable is a replaceable part, the repair is done from the tub deck and the drain connection box behind the front access panel, and no special plumbing work is required. Replacement cables are available from the support team through ellasbubbles.com/support; include your model and serial number so the right cable is matched.
How Your Drain System Works
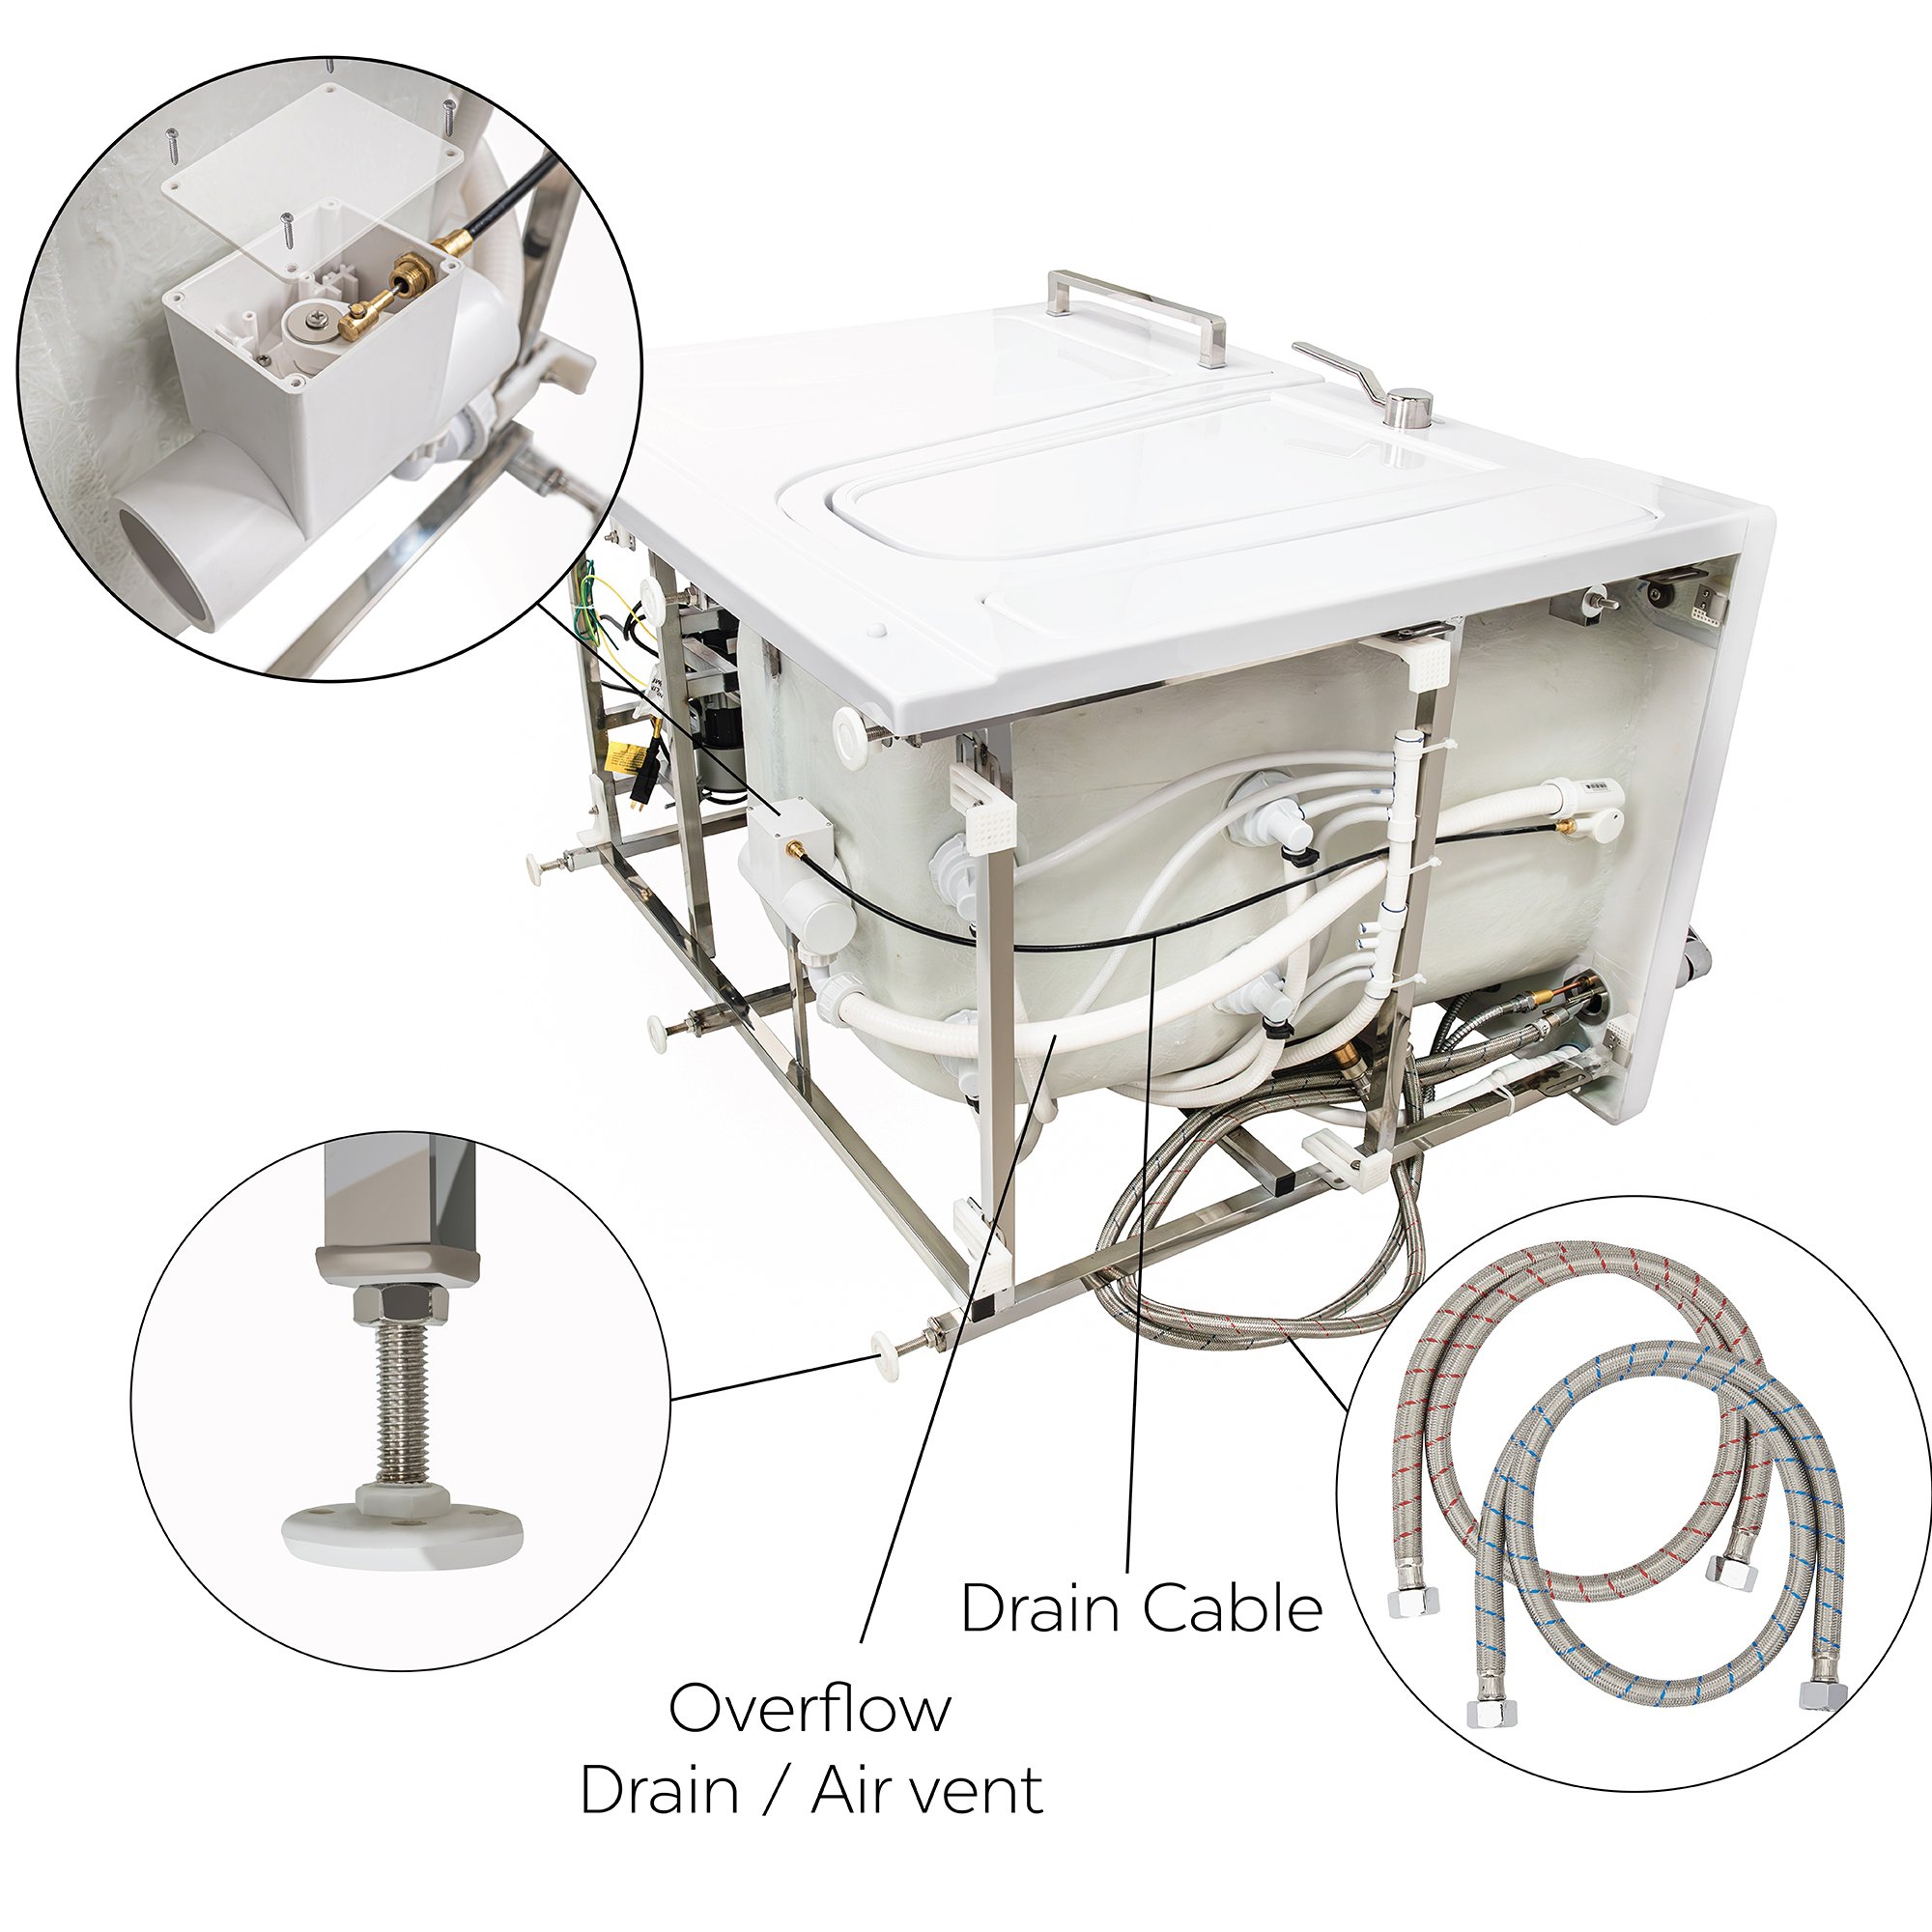
Most Ella walk-in tubs use dual 4-port T-type 2 inch drains that are opened and closed by stainless steel cables running inside protective black plastic sleeves. Turning the chrome drain handle pulls the cable, which moves an armature inside the connection box on the drain, and the armature raises or lowers the drain stopper via the drain stem. Dual drain technology explains why there are two of them.
| Tub family | Drain type |
|---|---|
| Most walk-in tubs (Elite, Petite, Royal, Deluxe, Ultimate, Ultra, Capri, Transfer models, two-seat models and more) | Dual 2 inch 4-port T-type drains, 2 overflows, 2 cable openers |
| Standard, Standard60, Zen, Zen60, Flow | One 2 inch gravity drain with a chain-operated removable plug and an emergency pull-up chain (no cable) |
| Front Entry | Single 2 inch 2-port drain with cable opener |
| LayDown 60 and 72 | Single 2 inch threaded brass drain with copper overflow and cable opener |
Because these systems differ, please include your model and serial number when requesting a cable so we match the correct part. Not sure where the label is? See where to find your model and serial numbers.
What Causes a Drain Cable to Fail
Stepping on an open drain causes tremendous stress on the cable and can cause breakage. That is why warning stickers are placed on every tub before it ships. Please step around the drain stoppers when entering and exiting the tub, and never push a stopper closed with your foot; use the handle.
Watch the Replacement, Then Follow the Steps

Chapters in this video
- 0:00 Introduction to Drain Cables The video introduces the dual four-port t-type drains with stainless steel cables that open and close the drains.
- 0:18 Removing the Old Cable The technician removes the service panel, armature, barrel end, drain handle, and vent assembly to access the cable.
- 1:13 Installing the New Cable The technician screws in the new cable, tightens the locking nut, and replaces the drain vent assembly with silicone.
- 1:46 Reassembling the Drain The technician places the cable barrel head onto the armature, inserts it into the connection box, and replaces the panel and drain handle.
- 2:30 Adjusting Drain Height The technician demonstrates how to adjust the drain height by turning the drain stem and tightening it with a lock nut.
Watch: Drain Cable Replacement with chapters and a full transcript.
- Remove the small service panel on the connection box on the drain.
- Carefully and slowly remove the armature from the connection box, then remove the barrel end of the cable.
- Using an Allen wrench, remove the drain handle on the tub deck.
- Loosen and remove the retaining ring nut on the vent, then remove the drain vent assembly completely.
- To free the cable from the assembly, simply unscrew the entire cable.
- Screw the new cable in completely, then tighten the locking nut firmly. Do not over torque.
- Place a thin bead of silicone onto the back of the drain vent assembly, insert it into the drain vent hole on the tub, replace the retaining ring and lock nut, and tighten firmly without over torquing.
- Place the cable barrel head end onto the drain armature and carefully insert the assembly into the connection box, making sure the flat side of the cable connection is facing up.
- Confirm there is a positive connection between the drain stem and the armature, then replace the small panel on the connection box.
- Replace the drain handle. Open and closed positions are indicated by the handles being straight up and down.
Adjusting the Drain Height

Watch: Ella's Bubbles: Adjustable Drain Height with a full transcript.
Ella tubs have adjustable height drains. If your stopper sits too high or too low, the drain stem can be adjusted by loosening or tightening the stem, then securing it with the lock nut. It is critically important not to loosen the stem too much, otherwise the stem can fall off and go down the drain. A properly set stem assures you of the fastest drain possible. Plugs, stems and gaskets are covered in drain plugs, stems, gaskets and hair catchers.
Quick Checks Before You Replace Anything
- Slow draining is usually not a cable issue. The handle must be opened completely, and the house drain itself must flow freely; see tub drains slowly or not at all.
- If the tub loses water during a bath, make sure the drain closes completely and that the locking nut is tightened on both stoppers.
- Transfer models have extension handles on the drain openers. Handle up means open.
- Everything in this article is reached through the front access panels. There is no need to remove the tub or open the subfloor; planning service access shows where the panels are.
Related Guides
- Drain Lever Stuck in the Open Position: Adding a Screw Stop So It Does Not Happen Again
- Ordering a Replacement Drain Cable or Full Drain Assembly for Your Walk-In Tub
- Connecting the Dual Drains in a Tight Space and What the Drain Package Includes
- Drain Plug Will Not Open or Drains Slowly: Checking the Set Screw and the Stem
- Someone Stepped on the Open Drain Plug, Do I Need a Whole New Drain Kit?
- How Do Walk-In Tubs Work, From the Door Seal to the Drain?
Common Questions
The stopper will not stay up unless I hold the knob.
The gasket or alignment stem went down the drain.
Why did the cable break?
The drains are stuck closed and the handle does nothing.
Do I have to remove the tub or open the floor to fix a cable?
My Standard, Zen or Flow has no cable. How does its drain work?
Is the drain cable covered by the warranty?
How do I know which way is open?
One drain handle is hard to turn while the other works fine. Is the cable broken?
The cap that the plunger fits into fell apart. Can I buy just that piece?
Still need help? Open a ticket at ellasbubbles.com/support with your serial number, and our technical support team will be glad to walk you through it, including by live video. You can also call (800) 480-6850.
About this guide. Answers in the Ella’s Bubbles Support Center are compiled from real conversations with tub owners, our technicians’ notes and the product documentation, then reviewed by our team. Tub models and options have evolved over the years, so a detail here may differ slightly from your exact tub. If something looks different on yours, send us your serial number and a specialist will confirm it for your model.
Did this solve your question?
If not, open a ticket and our team will pick it up from here.
Open a Support Ticket Videos