


Installing SMC Shower Niches and Soap Dishes
Updated September 2026
Shower niche installation with an Ella SMC niche means recessing it between two studs, packing out the flanges so they sit flush with the plasterboard, screwing it to the framing without over-tightening, waterproofing with a self-adhesive membrane and sealing compound, tiling over the flanges, and finishing with silicone that cures for 24 hours before the first shower. The SMC soap dishes are surface-mounted through two 5/32 inch holes and sealed the same way. This article covers both; wall kits, tiles and the accessory spec comparison are separate articles.
Niche Sizes
- Single niche: 14 inches wide by 16 inches high by 3 1/2 inches deep.
- Dual niche: 16 inches wide by 27 inches high by 3 1/2 inches deep, two compartments.
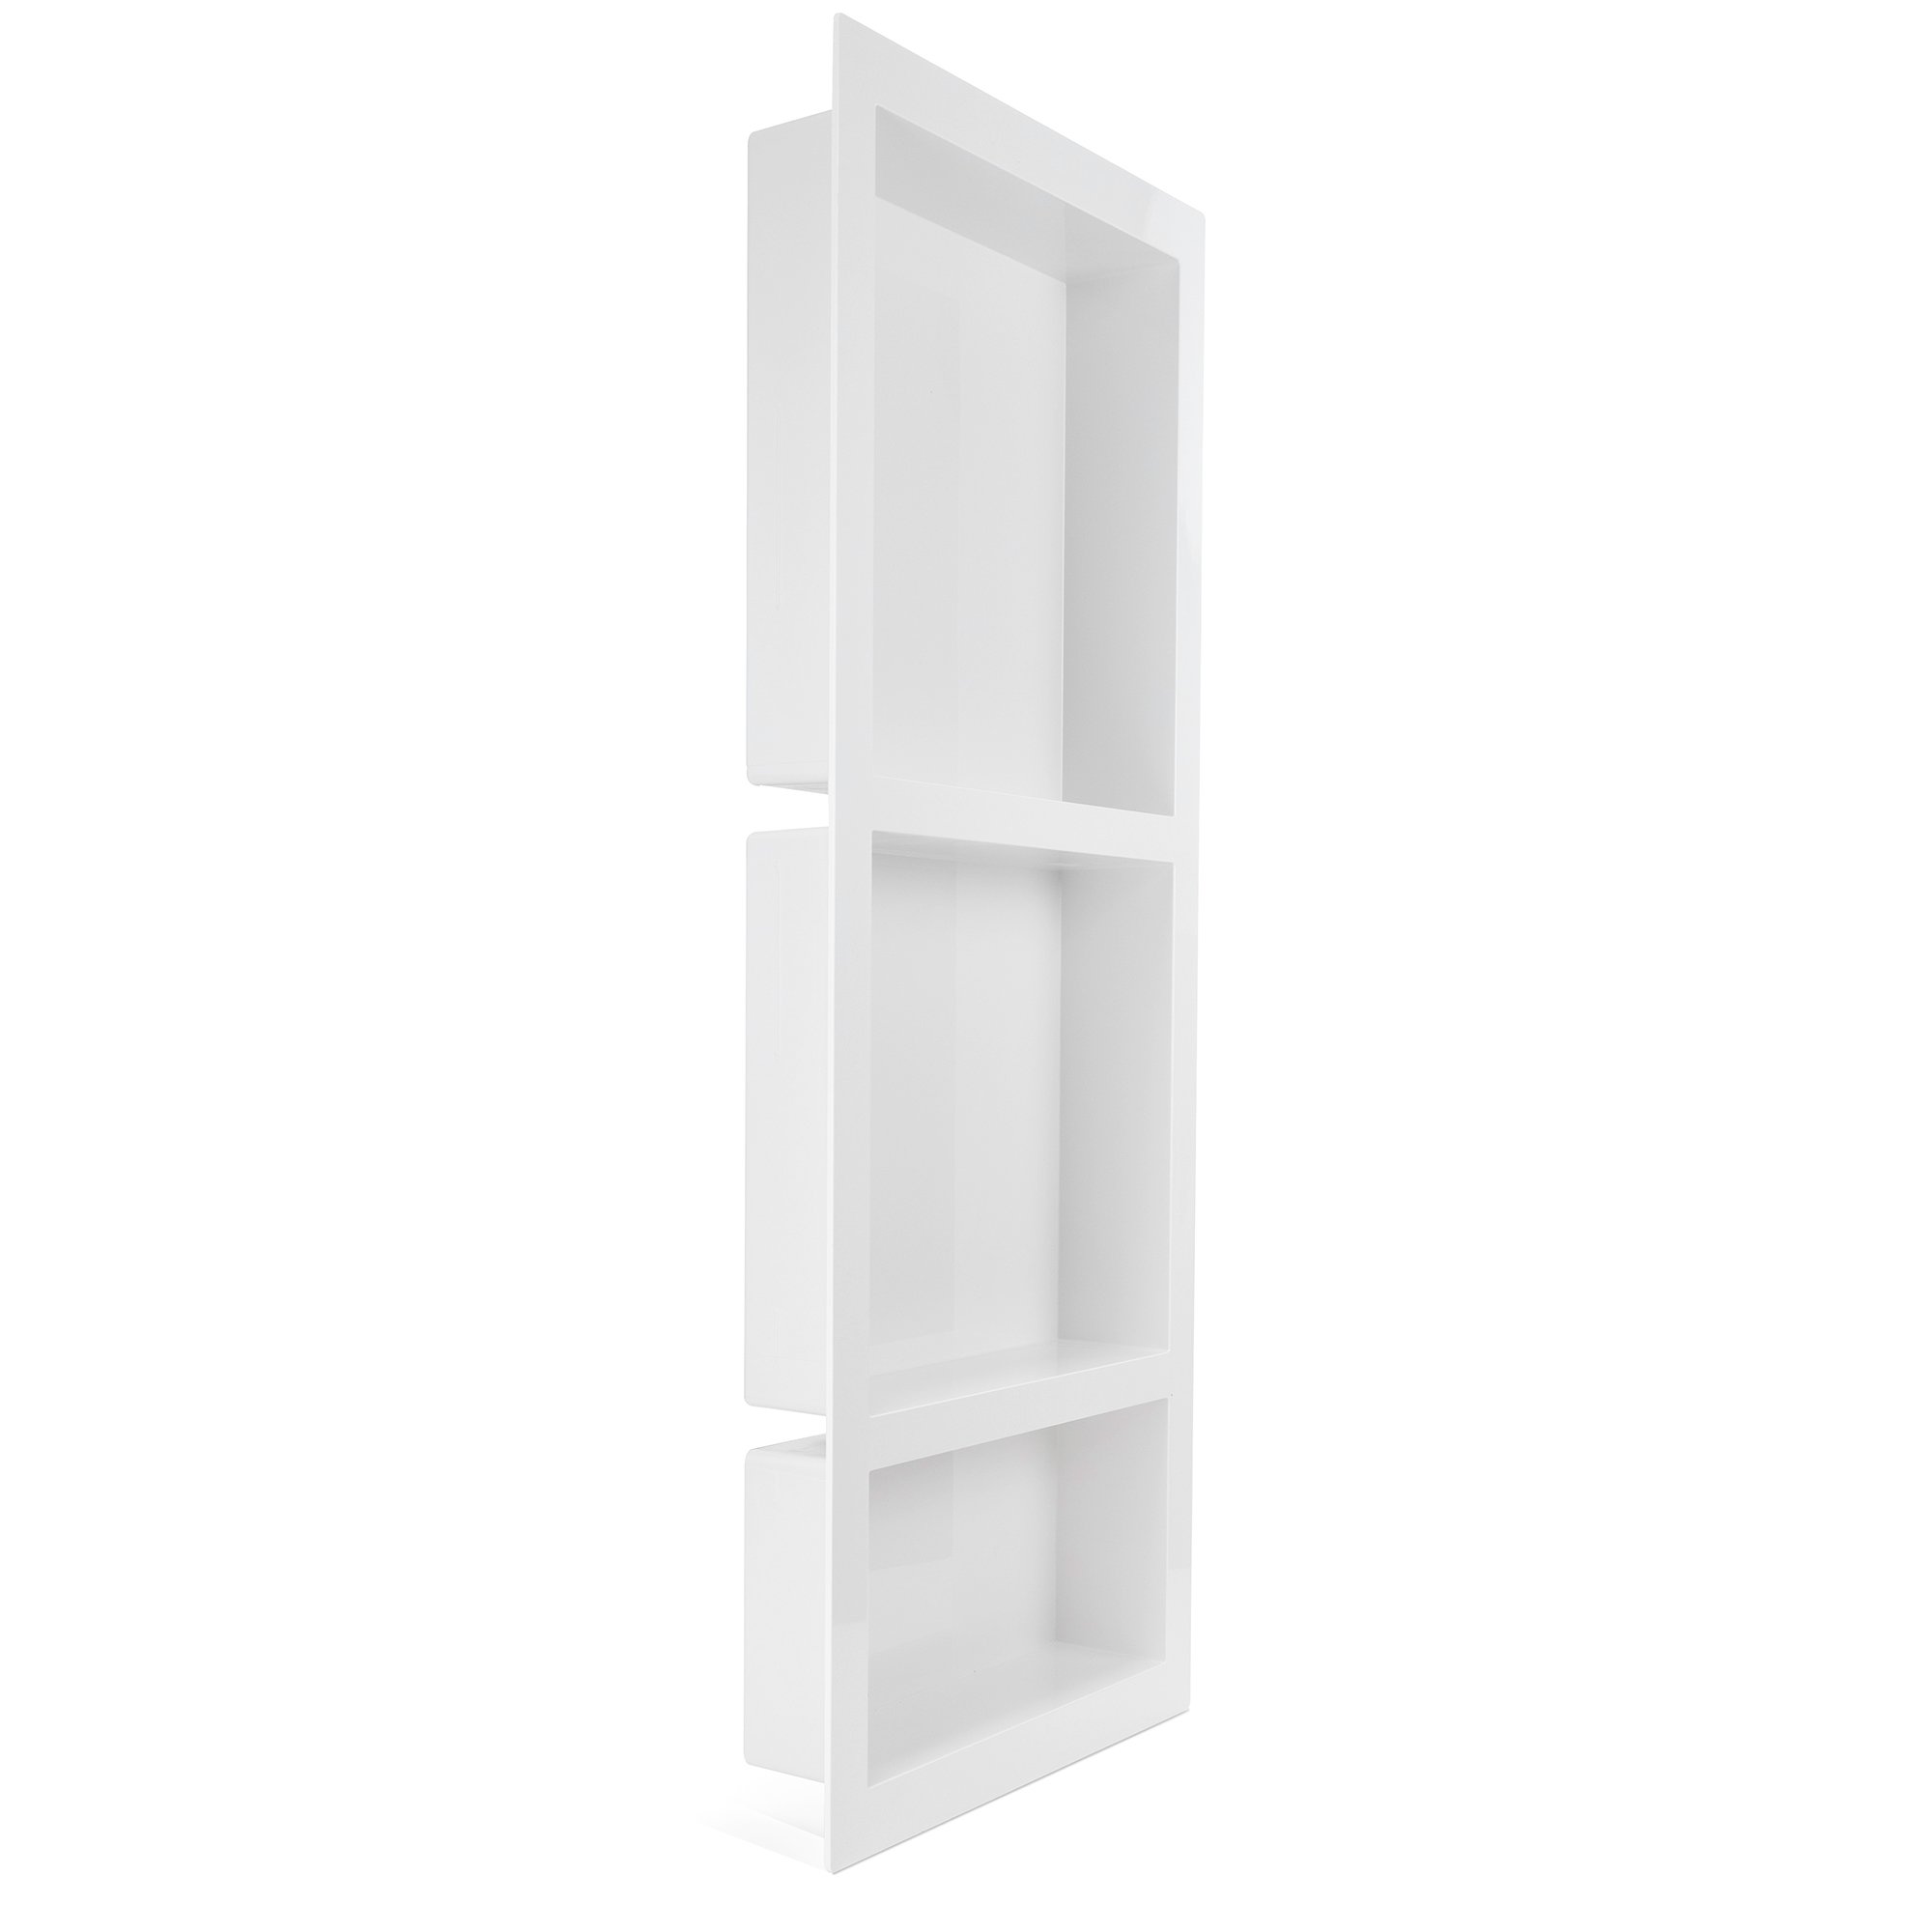
- Triple niche: 16 inches wide by 39 inches high by 3 1/2 inches deep, three compartments.
All are molded from SMC with a 3/16 inch wall and a non-porous surface that resists mold and stains, with a flange around the opening. They are designed for solid shower walls and stud walls, and the recessed installation depth is 4 inches. Sizes for every other shower accessory are compared in shower doors, seats, niches and accessories specs.
Before You Start
Open the packaging carefully and never cut into it with a blade. Store the niche flat, not leaning against a wall, and keep it out of wet or humid conditions. Dry-fit and mark every location before cutting. Have a second person help mark and set the niche. Protect the shower tray and cover the drain so debris cannot enter. Use a spirit level throughout and apply silicone at every stated joint.
Installation Steps
- Determine the location. Center the niche between two studs. Note the thickness of the finished wall, because the flanges must end up flush with the plasterboard surface before tiling. Check for hidden pipes, cables and screws, then mark the recessed body on the wall, not the flange outline.
- Cut the cavity. Remove the niche, check again for hidden services, and cut the opening with a saw or angle grinder. Confirm you have the full 4 inch depth. Smooth the edges and clean up.
- Reinforce the cavity. Add horizontal noggins between the studs at the top and bottom of the niche so the framed opening matches the niche dimensions. Push the niche in gently and check the surface levels.
- Set the depth. Notch the existing plaster or pack behind the flanges with wooden strips (not supplied) so the flanges sit flush with the new plasterboard. For tile or wallboard finishes, space the flanges to match the finish thickness. Insert the niche and confirm the flanges are flush and level.
- Fasten. Drill evenly spaced pilot holes through the flanges into the framing and secure with countersunk screws (not supplied). Do not over-tighten; cracks caused by over-tightened screws are not covered by warranty. If the niche will not be covered by tile or wallboard, seal the whole flange perimeter to keep water out.
- Waterproof. With every surface clean and dust-free, apply the vertical self-adhesive membrane tape first, then the horizontal, so they overlap. Trim the excess.
- Seal. Embed the membrane in a thin, flat layer of flexible sealing compound over the flanges, following that product's instructions.
- Tile. Once the compound is dry, apply tile adhesive and tile the wall; the tiles can overlap the niche flanges.
- Finish. Run silicone around the niche edges. Allow 24 hours before showering.
Watch: Finishing the Wall over the Flanges

Chapters in this video
- 0:00 Introducing Grout-less Shower Tiles We introduce Ella's Bubbles PVC grout-less shower tiles, a simple and stylish way to upgrade your shower or bath enclosure.
- 0:14 Measuring and Cutting Tiles We demonstrate how to carefully measure, score, and snap the tiles to get the precise piece you need for installation.
- 0:35 Upgrading Your Enclosure In no time at all, you have upgraded your shower or bath enclosure with a beautiful, modern look.
Watch: Ella's Bubbles: Grout-less Tongue & Groove PVC Carrara Tile Installation with chapters and a full transcript.
There is no dedicated niche video, but this clip shows the wall finish that most Ella showers receive over a recessed niche: the grout-free tongue-and-groove tiles are measured, scored and snapped to size, adhesive goes on the back, a thin bead of silicone seals each joint, and each tile is set and snapped into the one before it. Cut the tiles so they lap the niche flanges just as ceramic tile would, then silicone the reveal. The complete wall routine is in installing wall kits, surrounds and tongue-and-groove tiles.
Soap Dishes
- Rectangular soap dish: 11 inches wide by 2 inches high by 5 inches deep.
- Corner soap dish: 8 inches wide by 2 inches high by 8 inches deep.
Both are SMC with the same waterproof, non-porous surface as the niches, and both spec drawings show two 5/32 inch diameter mounting holes. Mount them with fasteners suited to your wall and backing, drilled through a grout line where possible, and seal each hole and the edges with silicone so water cannot travel behind the dish. Matching silicone and additional accessories are available; ask your Ella dealer or the team at (800) 480-6850.
Care
Wipe after each use, clean weekly with a mild non-abrasive cleaner, avoid bleach, ammonia and acid-based products, and never use abrasive pads or sharp tools. Inspect the caulk regularly and replace the silicone every 12 to 18 months or sooner if it cracks or separates. Dry the niche to limit hard-water spots and keep the bathroom ventilated; if mold appears, clean it with a diluted vinegar solution and rinse. The same rules apply to every SMC and AcrylX surface, as described in caring for Ella showers, bases, niches and seats.
Related Guides
Common Questions
How do I frame the opening?
Should the flanges sit flush or proud of the wall?
Can the niche be surface mounted instead of recessed?
Which sizes are the SMC shower niches available in?
How is the soap dish attached?
Can I put the niche in the wall behind a walk-in tub?
A screw cracked the flange. Is that covered?
What do I clean the niche with?
For anything specific to your model, serial number or wall finish, open a ticket at ellasbubbles.com/support.
About this guide. Answers in the Ella’s Bubbles Support Center are compiled from real conversations with tub owners, our technicians’ notes and the product documentation, then reviewed by our team. Tub models and options have evolved over the years, so a detail here may differ slightly from your exact tub. If something looks different on yours, send us your serial number and a specialist will confirm it for your model.
Did this solve your question?
If not, open a ticket and our team will pick it up from here.
Open a Support Ticket Videos