


Shower Column Drips After Shutoff, Deck Hole Size, Connector Rods and Replacement Column Sections
Updated September 2026
A shower column that drips after shutoff is releasing water that was still under pressure inside the column pipe, and it is normal: the rain head is simply the lowest open path for that leftover water. It cannot be stopped at the source, but it can be minimized by leaving the column diverter pointing down to the hand shower when the tub is not in use. This article also answers the practical questions that come up when a column or one of its sections is replaced: the deck hole size, the two wall connector lengths in the kit, and the fact that the bottom section ships on its own.
Why the Rain Head Drips After Shutoff
The water in the pipe of the shower column is under pressure while the shower runs. When you turn the faucet off, that water flows toward lower pressure, which means out of the rain head and into the tub. It is the remnant in the line, not new water. Here is the logic the team uses to confirm it:
- If the hot and cold valves are off, no water reaches the diverter on the tub.
- If the tub diverter is turned to the spout position, no water reaches the shower column.
- If the column diverter is in the hand shower position, pointing down, no water reaches the rain head.
- If the valves were letting water through with the diverter in the spout position, the spout would drip, not the column.
So with the valves off and both diverters turned away from the rain head, anything that comes out of the rain head afterwards is residual water. Leave the column diverter in the hand shower position between baths and the amount is small. One more check: look inside the hand sprayer head for the backflow prevention check valve, a small blue piece inside the threads. If that hole is empty, the check valve is missing and the team can send a replacement sprayer head that includes it; the hand shower check valve article shows where it sits. If the drip seems far larger than a line's worth of water, or the faucet itself keeps flowing with the valves closed, see water keeps flowing with the valve off and take a short video showing how much is coming out for your ticket.
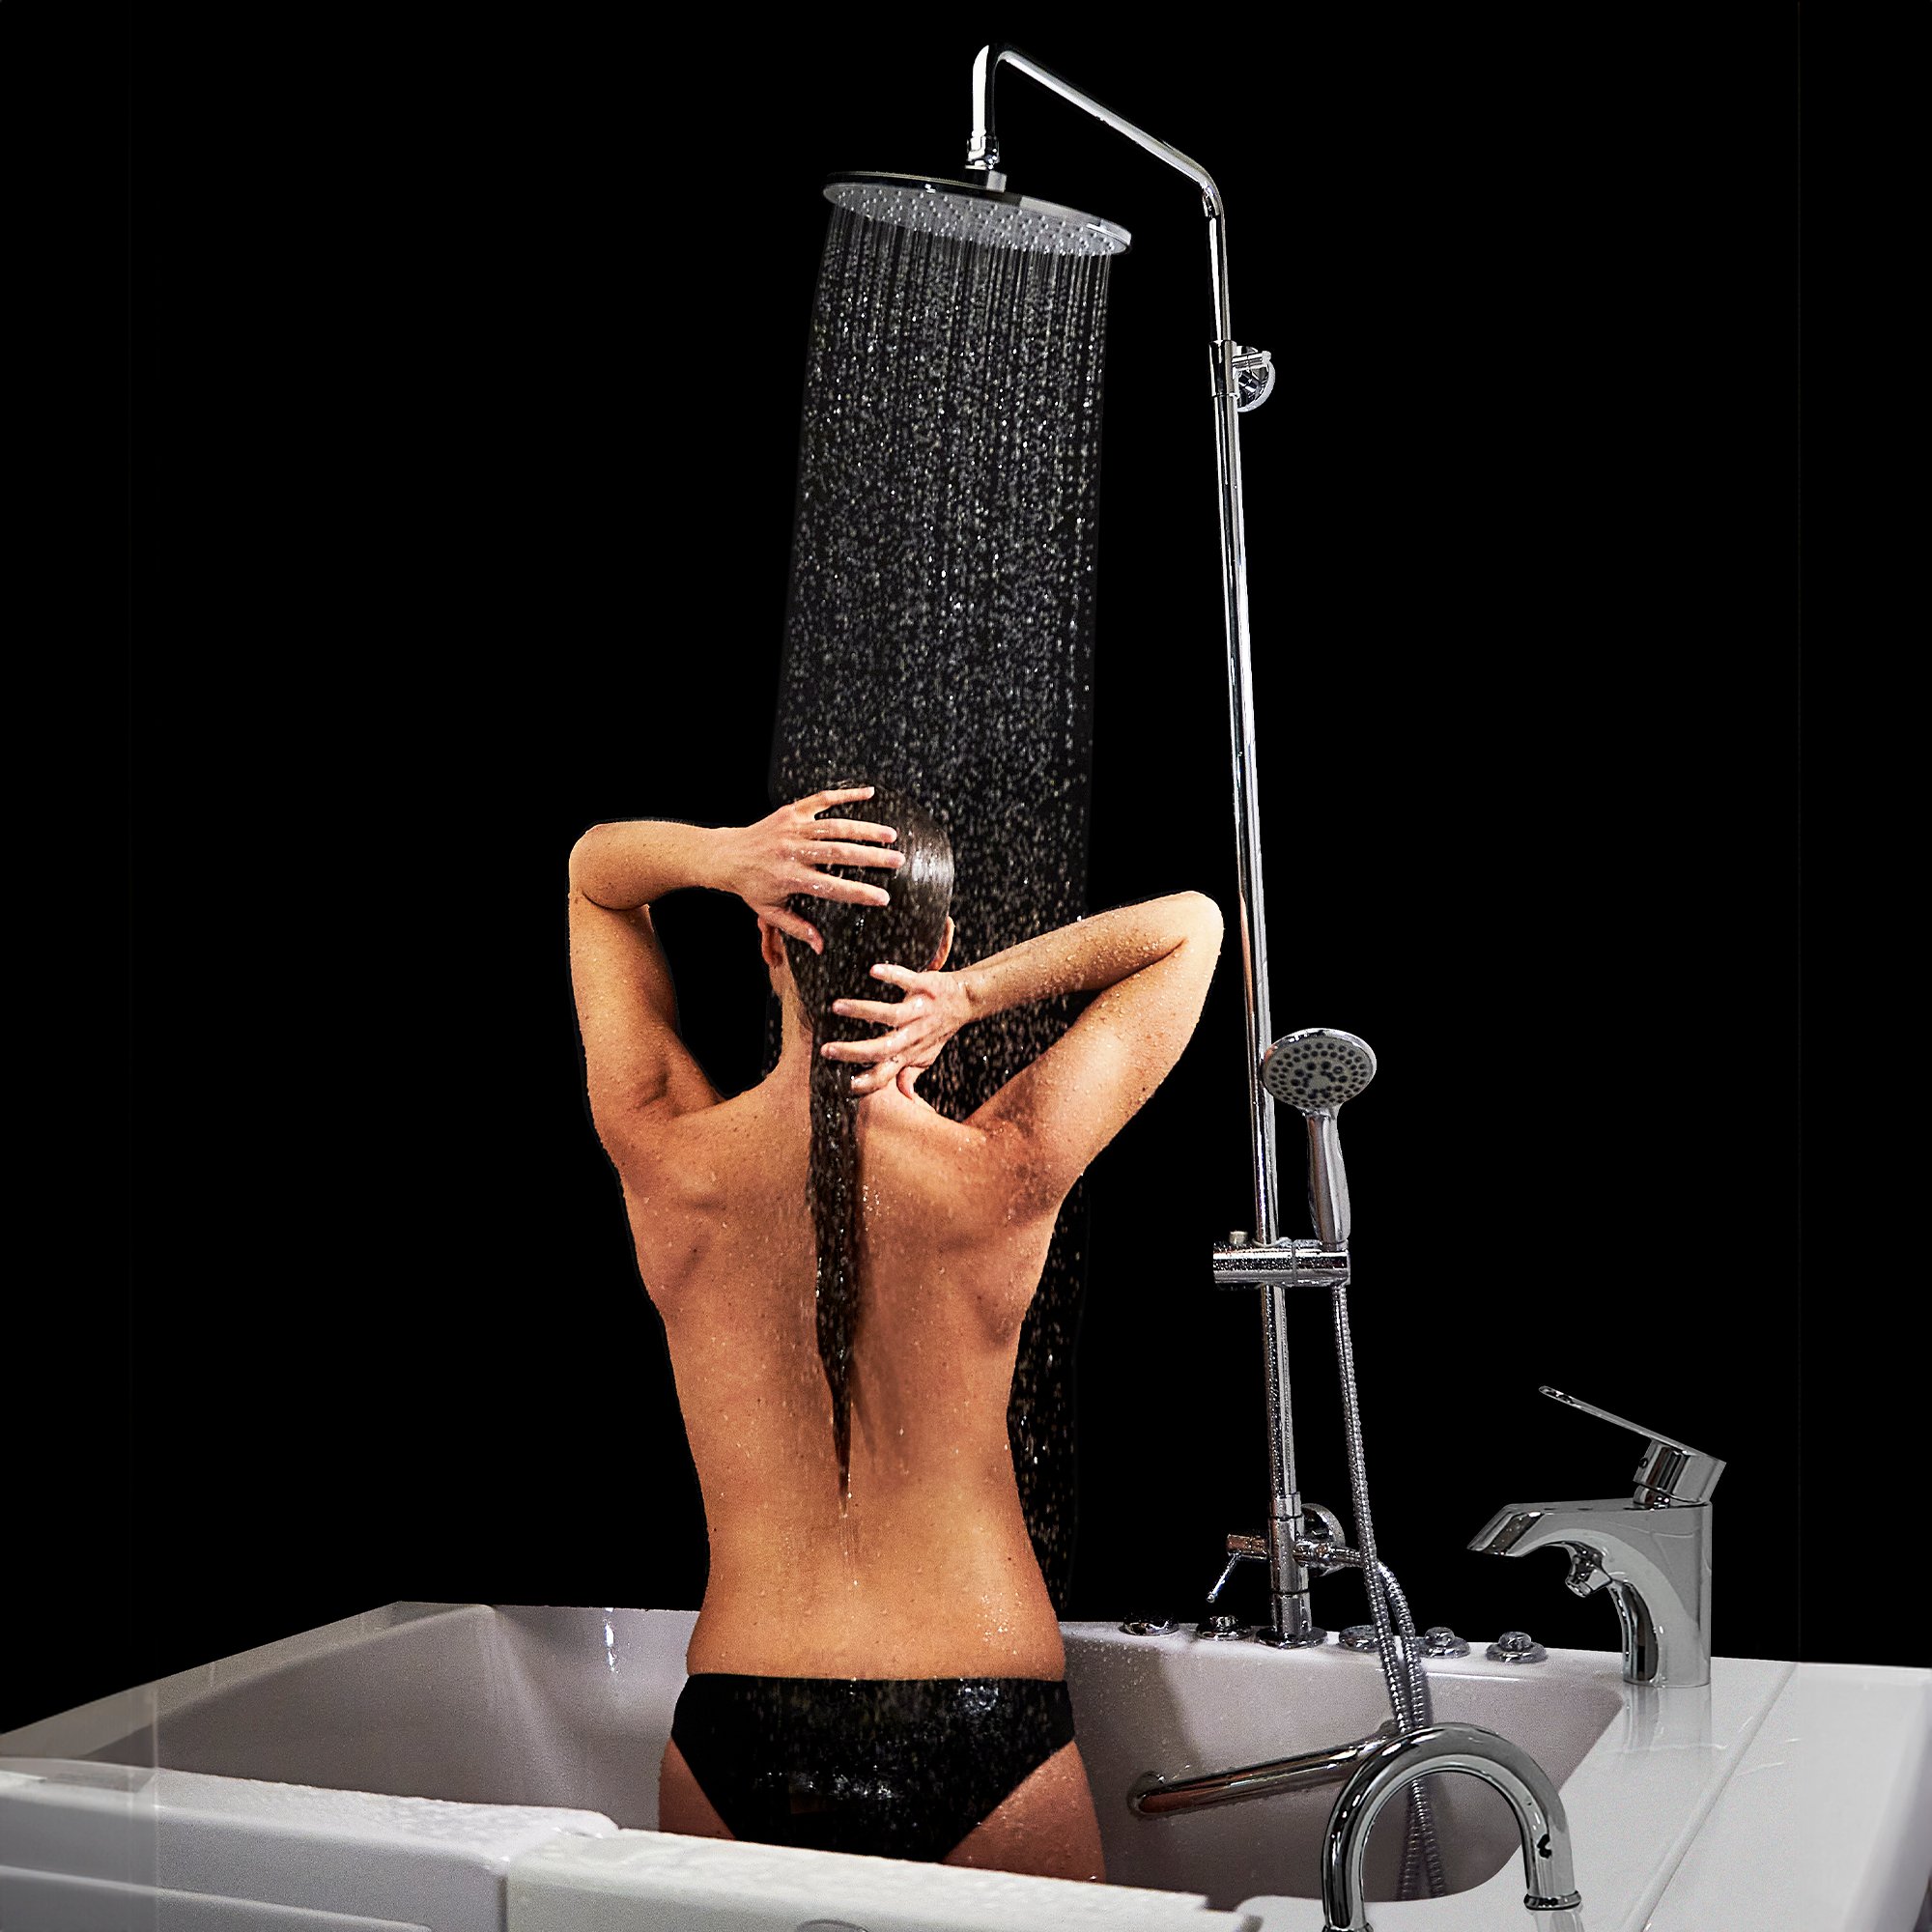
Deck Hole and Connector Rods
- Deck hole: the shower column base requires a 1 1/4 inch hole in the deck of the tub. On tubs with an Ella faucet the column uses the vacant pre-drilled hand shower receptacle hole.
- Wall connectors: the kit anchors the column to the wall with either a short pipe connector, adjustable from 2 1/4 inches to 3 1/4 inches for a column that sits close to the wall, or a long pipe connector, adjustable from 4 inches to 5 inches for alcove installations where the tub's extension panel adds distance. Each screws into the threaded connection on the column and is secured with a hexagonal lug nut.
- Access under the deck: the base is secured from below with a rubber gasket, a metal washer and a locking collar, and the supply hose connects to the bottom of the column. Replacing the base means reaching under the deck through the tub's access panel.
- Height range: the head sits between 37 and 64 inches above the deck, and the 10 inch rain head pivots with a 15 inch horizontal reach.
Replacement Column Sections
The bottom portion of the column ships as its own replacement part. With it in hand you have two options: remove the deck mount from the main pipe and switch out just the mount, or replace the entire bottom piece. The team prefers to send the whole bottom section so both options are available. Remember that the rain head and the hand shower run one at a time by design; the on/off diverter on the column selects one or the other, and the two heads cannot spray simultaneously. A lever handle that keeps working loose on the column diverter is held by a set screw in its threaded portion, so snug that screw before assuming the lever is worn. If a bracket, connector or seal is missing from a new kit, open a ticket and the team will send it.
Installing the Base with a Two-Piece Faucet

Chapters in this video
- 0:00 Install Shower Column Base The technician removes the hand shower and installs the shower column base unit into the pre-drilled hole.
- 0:40 Connect Shower Column Feed Line The technician connects the shower column feed line to the bottom of the shower column and the faucet.
- 1:14 Install Riser Tube And Wall Mount The technician installs the riser tube and secures the brass wall mount with a chrome collar and gasket.
- 1:33 Attach Upper Mounting Bracket The technician attaches the upper mounting bracket, ensuring the shower riser is vertical, and inserts the column's mounting arms.
- 1:54 Connect Hand Shower Hose The technician attaches the adapter nut to the shower column and connects the hand shower hose to the adapter nut.
The video begins by removing the extendable hand shower and its receptacle. A bead of silicone goes around the base of the shower column before the base unit is inserted into the vacant pre-drilled hole, with a recommended height of 7 inches from the tub deck to the middle of the diverter switch. Under the deck the rubber gasket goes on first, then the metal washer, then the metal locking collar, and the set screws are tightened firmly without over-torquing. The feed line is checked for a seated gasket, connected to the bottom of the column and to the brass connection of the faucet, hand tight and then snugged a quarter to a half turn. The brass wall mount is adjusted and locked with an Allen wrench, with the chrome collar and rubber gasket slipped on first. The riser tube is checked for its gasket and tightened, the column is set exactly vertical, the wall brackets are installed and the mounting arms inserted, then the adapter nut and hand shower hose are connected and snugged. The finished assembly is shown from the back and installed in an alcove. The complete first-time installation, including the five-piece faucet and the timing rule for ordering the kit, is covered in Installing the Shower Column Kit.
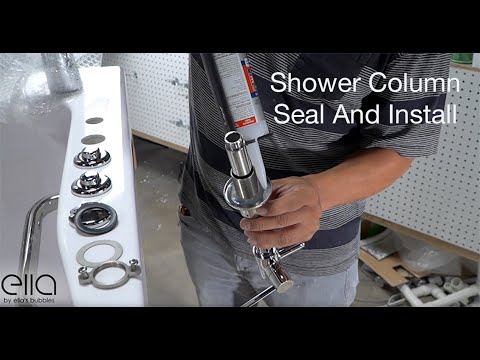
Chapters in this video
- 0:00 Prepare Shower Column Base The technician removes the locking piece and all gaskets from the shower column base.
- 0:17 Apply Silicone Caulk The technician applies a thin bead of silicone caulk where the attachment ring meets the thread.
- 0:52 Install Column Base The technician places the column base into the pre-drilled hole and secures it with the metal washer and locking piece.
- 1:14 Tighten Screws Securely The technician tightens each screw snugly, ensuring a secure and watertight seal for the shower column base.
Watch: Shower Column with Water-Tight Seal for Walk-In Tubs with chapters and a full transcript.
This shorter clip focuses on the seal where the column meets the deck. There is no narration, so use the sequence from the video above as your guide: silicone at the base before insertion, then the gasket, washer and collar from below, then the set screws. The clip is useful for seeing how the base should sit on the deck when the seal is done correctly. For the wall-mounted sliding bar alternative and its leak-elimination coupler, see installing the hand shower slider bar.
Related Guides
- Can I Add a Hand Shower Slide Bar or Rain Shower Column After My Tub Is Installed?
- Buying a Fast-Fill Faucet Set or Valve Body on Its Own: Specs, Finishes and Deck Hole Size
- Does a Walk-In Tub Come With a Shower Head? Riser, Column and Rain-System Options for a Standing Shower
- Can I Switch My Walk-In Tub From a 2-Piece to a 5-Piece Faucet?
Common Questions
Why does the rain head drip after I turn everything off?
Where should I leave the column diverter?
What hole does the column base need in the deck?
Which connector rods ship with the kit?
Can I replace just the bottom of the column?
The video says 7 inches above the deck. Can I mount the diverter higher?
Can the rain head and hand shower run together?
Water sprays from the joint above the diverter when I switch to the rain head.
For anything specific to your model or serial number, open a ticket at ellasbubbles.com/support or call (800) 480-6850. The team is glad to help.
About this guide. Answers in the Ella’s Bubbles Support Center are compiled from real conversations with tub owners, our technicians’ notes and the product documentation, then reviewed by our team. Tub models and options have evolved over the years, so a detail here may differ slightly from your exact tub. If something looks different on yours, send us your serial number and a specialist will confirm it for your model.
Did this solve your question?
If not, open a ticket and our team will pick it up from here.
Open a Support Ticket Videos