


Leak Prevention Push Control System for Walk-In Tubs | Ella’s Bubbles

Chapters in this video
- 0:00 Remove Button Collar A technician carefully removes the button collar with a flat edge, taking care not to scratch the tub surface.
- 0:12 Apply Silicone Caulk A thin bead of silicone caulk is applied around the rubber gasket and smoothed to ensure complete coverage.
- 0:28 Replace Button And Collar The button is replaced, and the collar is snapped back on, then excess silicone is smoothed away.
A technician demonstrates how to prevent leaks in Ella's Bubbles walk-in tub push button controls. This maintenance guide shows how to apply silicone caulk to keep controls watertight and secure.
To ensure long-lasting performance and leak prevention, a technician carefully removes the button collar with a flat edge, taking care not to scratch the walk-in tub surface. The collar and button are removed to access the rubber gasket.
A thin bead of silicone caulk is applied around the rubber gasket and smoothed to ensure complete coverage. This step helps maintain a perfect seal, ensuring durability and reliable function for years. The button is then replaced, and the collar is snapped back on.
Excess silicone is smoothed away if necessary. The area can be cleaned with denatured alcohol. This process helps prevent water from getting under the tub from a loose push button gasket.
- Remove button collar
- Apply silicone caulk
- Replace button and collar
- Smooth excess silicone
- Clean with denatured alcohol
Step by step help for this topic: Push-Button Air Hoses: Which Port on the Blue Box, Reconnecting a Hose That Pops Off, Red Hoses, Sealing and Replacing a Button, Water Under or Behind the Tub: Finding the Source at Unions, Air Fittings, the Hand Shower, Drain Elbow and Supply Lines and The pre-installation water test: catch leaks before your walls are finished.
Video transcript1 paragraph · 0:50
remove the button collar carefully with a flat edge being careful not to scratch the tub surface remove the collar and the button place a thin bead of silicone caulk around the rubber gasket smooth to ensure complete coverage replace the button and then snap the collar back on smooth to remove excess silicone if necessary clean the area with denatured alcohol you
Guides that use this video
- 📖The pre-installation water test: catch leaks before your walls are finishedInstalación y nivelación
- 📖Do walk-in tub doors leak, and how are they sealed?Puerta y sello
- 📖Do walk-in tub doors leak, and how is that prevented?Puerta y sello
- 📖Do Walk-In Tubs Leak and How Is the Door Sealed?Puerta y sello
- 📖Do walk-in tubs leak around the door, and what stops it?Puerta y sello
- 📖Do Walk-In Tub Doors Leak Through the Seal Over Time?Puerta y sello
- 📖Do walk-in tubs leak, and how is the door sealed?Puerta y sello
- 📖Water Under or Behind the Tub: Finding the Source at Unions, Air Fittings, the Hand Shower, Drain Elbow and Supply LinesSolución de problemas y reparaciones
- 📖Every Repair Video in One Place: Drains, Faucets, TCV, Buttons, Control Boxes, Touchpads, Doors and OzoneSolución de problemas y reparaciones
- 📖Push-Button Air Hoses: Which Port on the Blue Box, Reconnecting a Hose That Pops Off, Red Hoses, Sealing and Replacing a ButtonPiezas de repuesto
More Installation & Leveling videos
 ▶3:38Walk-In Tub Installation and Delivery Ella's Bubbles Transfer 60An Ella's Bubbles Transfer 60 walk-in tub is unboxed and installed, showing the steps for inspection, leak checks, plumbing, electrical…5 chapters · used in 25 guides
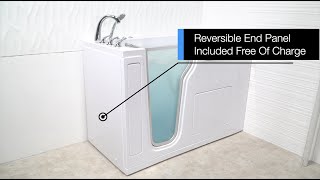 ▶1:50Ella's Bubbles: End Panels And Extension PanelsElla's Bubbles walk-in tubs include end panels and extension panels to fit various bathroom layouts. This video explains their purpose…4 chapters · used in 34 guides
 ▶6:12Installing a Glue-Up Tile Flange: Step-by-Step | Ella’s BubblesInstalling an Ella's Bubbles glue-up tile flange kit creates a waterproof seal where a walk-in tub or shower base meets the wall. The video…6 chapters · used in 15 guides
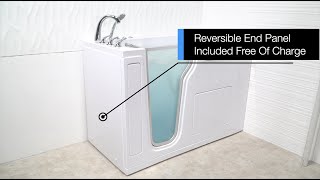 ▶1:51Ella's Bubbles: Understanding Extension and End PanelsElla's Bubbles walk-in tubs include extension panels and end panels for proper installation. This video explains the purpose and placement of…4 chapters · used in 41 guides
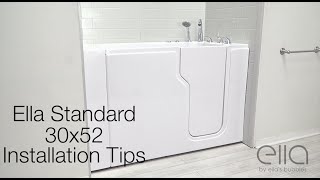 ▶2:02Ella's Bubbles: Consejos de instalación para la bañera de acceso estándar EllaElla's Bubbles provides installation tips for the Ella Standard walk-in tub, covering how to fit it into a 60-inch alcove, its hydro massage…4 chapters · used in 27 guides
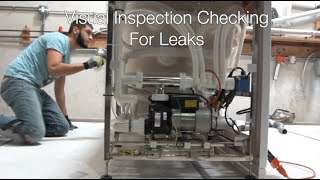 ▶5:19Ellas Bubbles: Walk-In Tubs Installation Tips and RecommendationsWalk-in tub installation requires checking dimensions, inspecting for damage, and leak-testing the tub. This video demonstrates installing…4 chapters · used in 34 guides
More Installation & Leveling videos → All videos → Watch on YouTube →
 Vídeos